watonomous.github.io
[ Knowledge Base : SSH JupyterLab and Tmux Guide ]
Created by [ Antonio Kim], last modified on Dec 30, 2019
Once ssh'ed into one of the Wato computers you have a few options for viewing and editing files. You can use a terminal editor such as Vim or Emacs if you would prefer. However, if you would like to use a graphical interface, this tutorial will take you through how to use Tmux and JupyterLab to set up such an interface.
Setup
First, it is recommended that all of the following python packages are installed using an anaconda installation. It is likely that the machine you are ssh'ed into has a shared anaconda environment that you can use. Follow this guide to setup the shared anaconda environment for your user account. Using the python3 associated with the conda environment, you need to run:
pip install jupyterlab
In addition, while it is not required, it is recommended that JupyterLab be used in tandem with tmux. All WATO machines have tmux installed already.
Usage
Once JupyterLab is installed, exit out of the ssh session as you will need to start a new ssh session in order to use JupyterLab. JupyterLab uses port forwarding to provide an interface on the browser. In order to allow port forwarding you will need to ssh using the following command:
ssh -L 8888:localhost:8888 username@wato-wato
[Of course, the username and the desired Wato machine must be substituted into the command.]{.inline-comment-marker data-ref=”90b6675a-47d7-4a2d-b8af-e968b471dff5”}
Once ssh'ed in again, you are all set to start up JupyterLab.
Tmux
You can start up a new tmux session using the following command:
tmux new -s lab
For the purpose of this tutorial, we will name the session "lab" as we will be starting up JupyterLab using this tmux session.
Note, tmux is recommended to be used in tandem with JupyterLab as it will preserve your session should you be disconnected for any reason. Without this, l[ocalhost ports may become clogged up and make things harder to use]{.inline-comment-marker data-ref=”f7f4b3ee-5940-473f-b965-219ff78816f2”}.
JupyterLab
Once the tmux session is started, you can simply start up JupyterLab using the following command:
jupyter-lab --no-browser
We use the flag --no-browser as, depending on the OS and the browser,
automatically opening JupyterLab may not work correctly leading to
errors. It is safer to pass this flag and open the browser manually.
Also, make sure that you are in your home directory (~/) as that is
where JupyterLab will set the home directory to when starting up.
Once that command is run, a localhost link will show up. Copy and paste this into your browser and voila! You should see the jupyter lab interface all ready to use.
[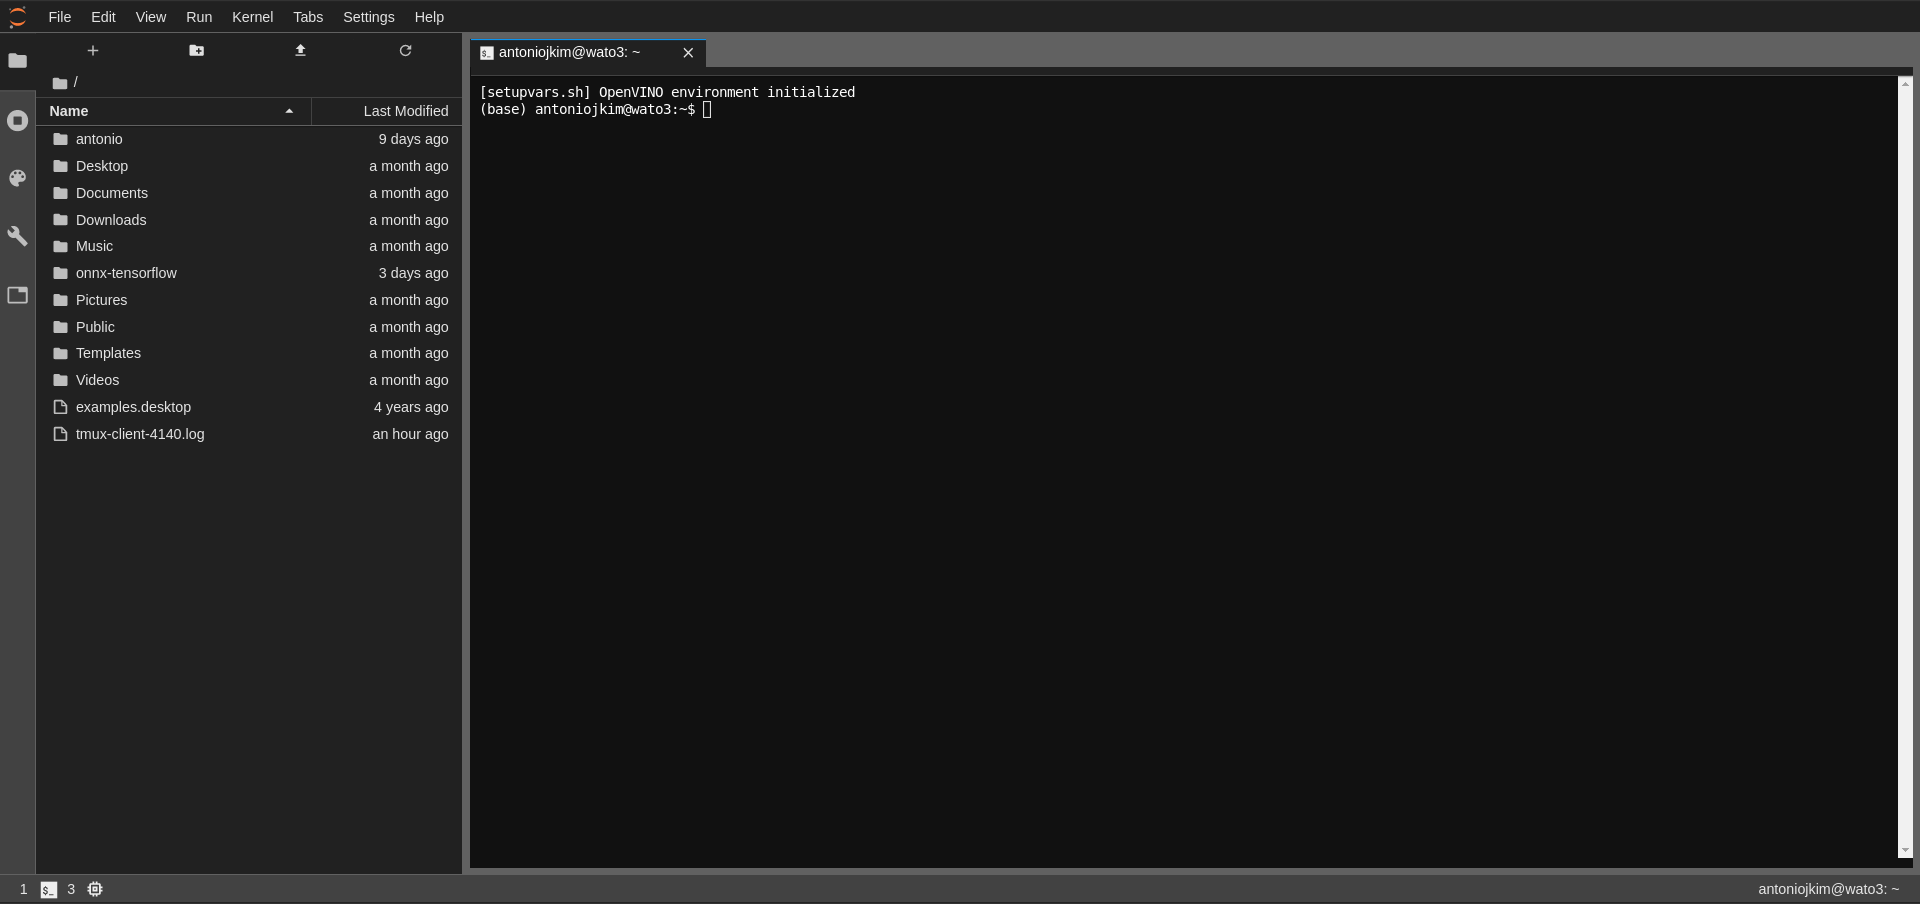
From here, there are many ways that you can customize JupyterLab including the theme, the default key mappings, custom key mappings, extensions and much more.
Tmux Customization
Tmux can also be customized to provide a more useful view. See this cheat sheet for more details on how to do this.
[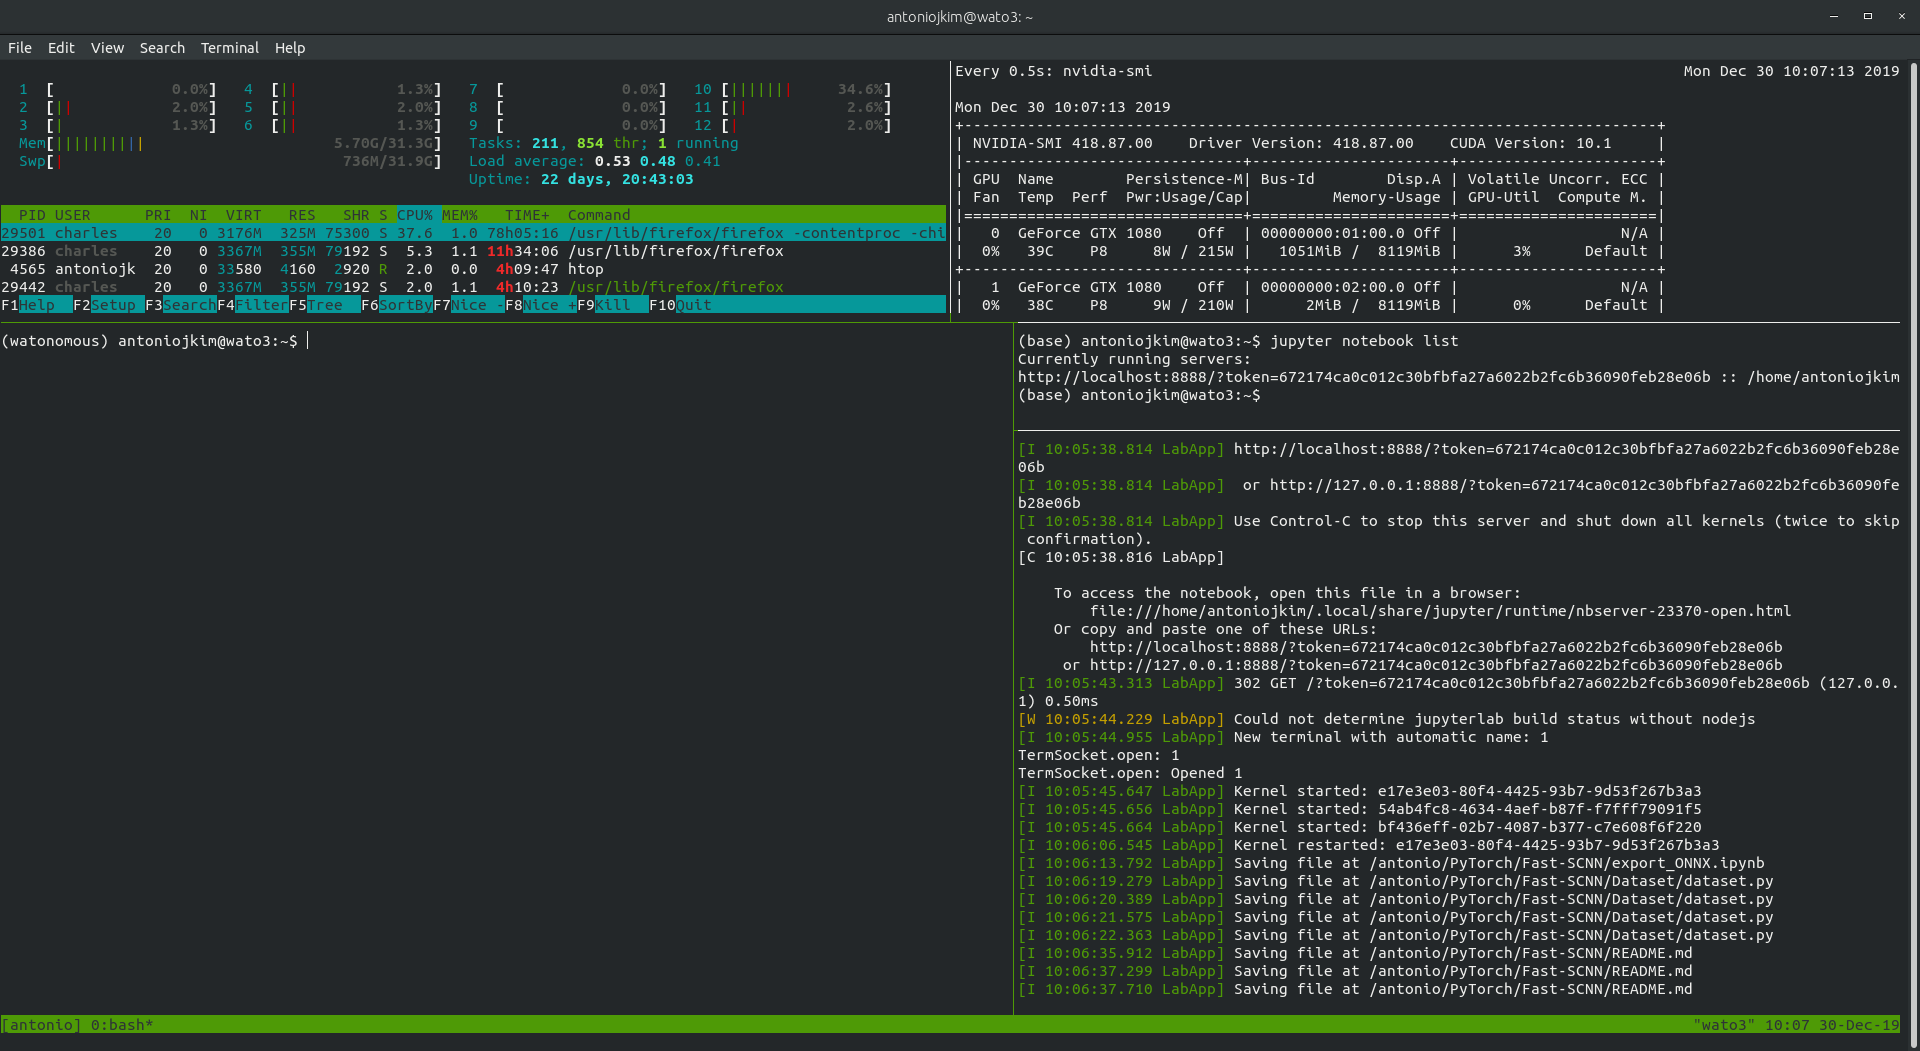
For reference, I personally like to keep 5 tmux windows open for my main
tmux session. In the top left, I have htop open. In the top right I am
running watch -n 0.5 nvidia-smi. On the right, I have my JupyterLab
session running as well as a small window that tells me the jupyter
servers that are currently running.
Attachments:
![]() image2019-12-30_10-7-21.png
(image/png)
image2019-12-30_10-7-21.png
(image/png)
![]() image2019-12-30_10-16-11.png
(image/png)\
image2019-12-30_10-16-11.png
(image/png)\
Document generated by Confluence on Nov 19, 2021 12:20