watonomous.github.io
- Electrical Division
- Electrical Division Home
- Telemetry Group
- CAN Interface and Software Design Document
[ Electrical Division : How to work with the CAN Interface in the Docker Container ]
Created by [ Avery Chiu], last modified on Jul 25, 2021
This tutorial assumes that the reader has gone through the onboarding, cloned the mono repo, and can ssh into the WATO servers.
In W21, the CAN interface team developed a docker container for the CAN interface which is located in the mono repo. This docker container uses host networking so that the host machine's ports are exposed to the docker container, thus allowing the CAN interface on the host machine to be exposed to the docker container. This means that CAN data that is sent to the host machine, which will be the Rugged for the competition, can be received and processed from the Docker container. Below is a guide
- Starting and Running the CAN Interface Docker Container
- Fixing watod up
- Setting up the Virtual CAN Interface
- Testing the Virtual CAN Interface
- Editing CAN interface code
- Related articles
Starting and Running the CAN Interface Docker Container
# 1. Make sure you have sshed into one of the Wato servers and you are on the correct branch
# Assuming you are on the 'develop' branch, run the commands below and switch to the 'can_interface' branch
cd wato_monorepo
git pull
git checkout can_interface
git pull

# 2. Edit the dev_config.local.sh file to and write ACTIVE_PROFILES="production"
# You can use whatever text editor you like, in this case I use vim
vim dev_config.local.sh

# 3. Start up the container, note that roslaunch is designed to run as soon as the container starts
# The container should keep running, but if it doesen't then refer to 'Fixing watod up'
watod up --build &
# press enter once the container is up to keep entering the commands below in the same terminal

#4. Enter the docker container
watod -t can_interface

#5. Run the ROS interface scripts
source devel/setup.bash
cd src
roscd can_interfacing
roslaunch can_interfacing can_interface.launch

#6 Run the ROS interface test
rostest can_interfacing can_interface.launch
Fixing watod up
Fixing CAN interface docker container not staying on after running watod up
[]{.aui-icon .aui-icon-small .aui-iconfont-info .confluence-information-macro-icon}
Follow the steps below if the CAN interface docker container closes prematurely after running. This needs to be fixed otherwise you can't run watod -t can_interface
Go into profiles/docker-compose.production.yaml and paste the code below
version: "3.8"
services:
  can_interface:
    build:
      context: .
      dockerfile: docker/can_interface/Dockerfile
    image: "can_interface:latest"
    network_mode: "host"
    # environment:
    #   - ROS_MASTER_URI=http://rosmaster:11311/
    volumes:
      - ./src/ros_msgs/embedded_msgs:/home/docker/catkin_ws/src/embedded_msgs
      - ./src/can_interfacing:/home/docker/catkin_ws/src/can_interfacing
      - ./code_server_config/bashrc:/home/docker/.bashrc
    command: bash
    tty: true
Now run watod up and the docker container should stay on/
Setting up the Virtual CAN Interface
# Note that on some of the servers, the virtual CAN interface should already be set up so you can ignore these instructions below
# These are just here for reference

# 1. Run the command below and to see if there is already a CAN interface set up
# for virtual CAN you should see something like vcan0
ifconfig

# 2. If you don't see any CAN interface, run the commands below to set it up.
# Note that these commands must be run within the host machine, not from within the docker container
sudo modprobe vcan
sudo ip link add dev vcan0 type vcan
sudo ip link set up vcan0

# 3. You can take down the virtual CAN interface by running:
sudo ip link del vcan0

# 4. Run the commands below to set up the real CAN interface
sudo ip link set can0 type can bitrate 500000
sudo ip link set up can0
sudo ip link set can1 type can bitrate 500000
sudo ip link set up can1
sudo ip link set can2 type can bitrate 33000
sudo ip link set up can2

# 5. Take down the real CAN interface
sudo ip link set can0 down
sudo ip link set can1 down
sudo ip link set can2 down
Testing the Virtual CAN Interface
# These instructions help ensure that the virtual CAN interface is properly set up

# 1. Start up the docker container
watod up

# 2. ssh into the docker container
watod -t can_interface

# 3. Install can-utils for testing
sudo apt install can-utils

# 4. Set candump to display CAN messages on the Virtual CAN bus
candump vcan0

# 4. Open a new terminal from the host machine and send a message
cansend vcan0 123#1122334455667788

#5. Run the ROS interface scripts
source devel/setup.bash
cd src
roscd can_interfacing
roslaunch can_interfacing can_interface.launch

#6 Run the ROS interface test
rostest can_interfacing can_interface.launch
Editing CAN interface code
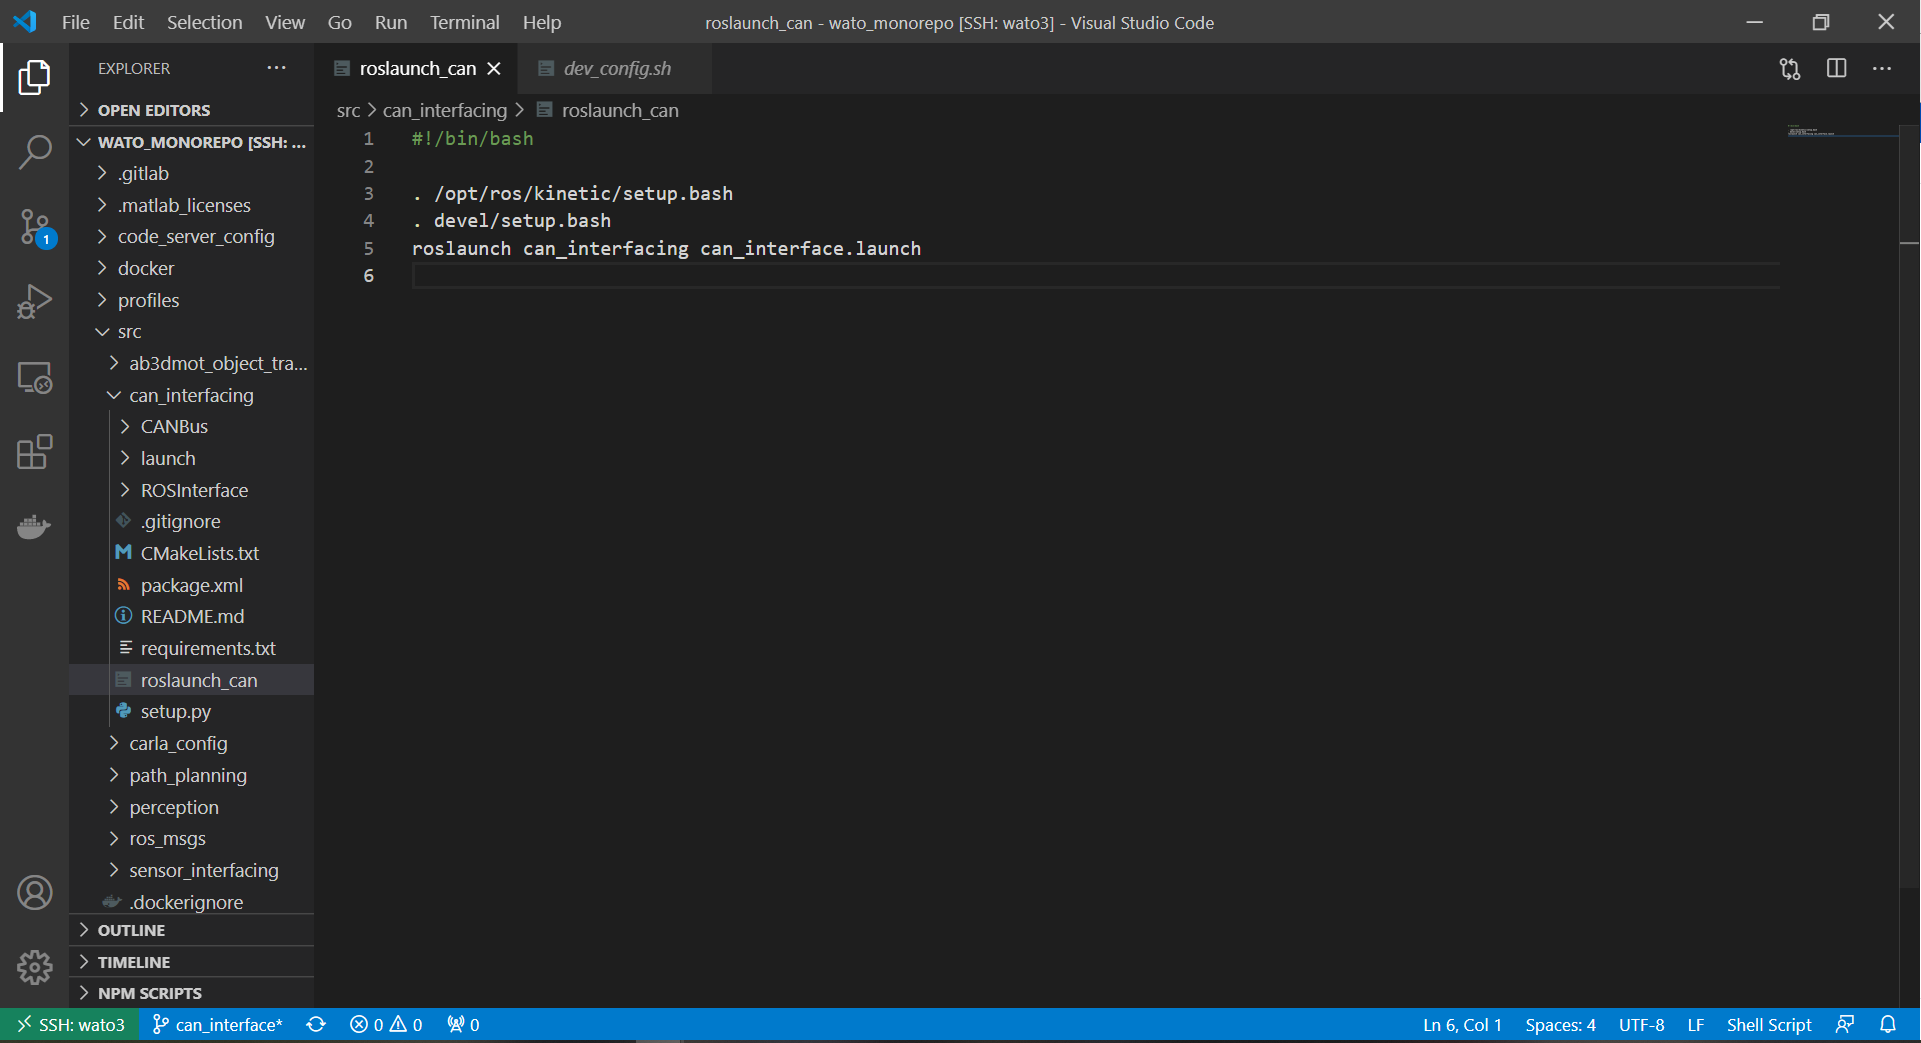
Note that code server is not set up for the CAN Interface Docker container since it uses host networking which messes things up. Instead, it is recommended to use any form of text editor within the host machine. In my case, I used VSCode to edit code on the server.
Below are some steps to achieve this.
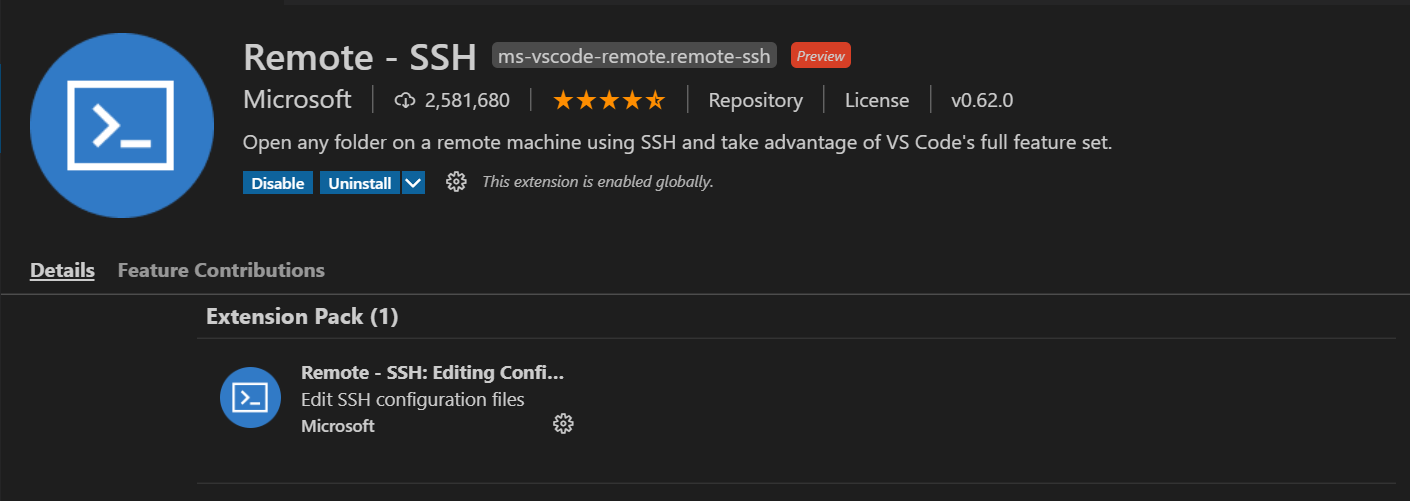
- Install the Remote - SSH extension
[ {.confluence-embedded-image
height=”250”}]{.confluence-embedded-file-wrapper
.confluence-embedded-manual-size}
{.confluence-embedded-image
height=”250”}]{.confluence-embedded-file-wrapper
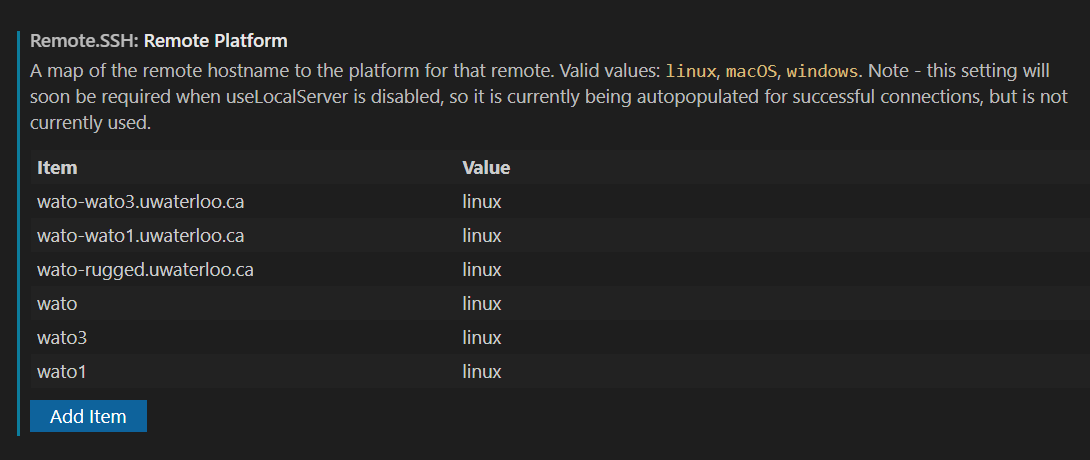
.confluence-embedded-manual-size} - Restart VSCode, then click the settings icon from the picture above and go to Extension Settings.
- Scroll down and add the Wato servers to this list.
[ {.confluence-embedded-image
height=”250”}]{.confluence-embedded-file-wrapper
.confluence-embedded-manual-size}
{.confluence-embedded-image
height=”250”}]{.confluence-embedded-file-wrapper
.confluence-embedded-manual-size} -
Press f1 and go find Remote-SSH: Open configuration file. Then go to your .ssh/config file. Here you will need to make sure that the Wato servers are added. Here is how mine looks for reference.
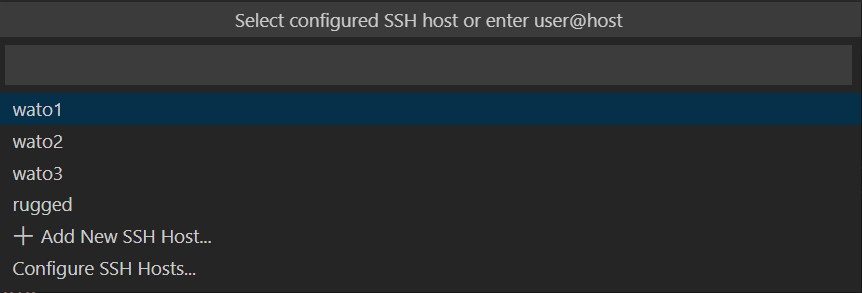
Host wato* ForwardAgent yes Host wato1 User a27chiu HostName wato-wato1.uwaterloo.ca IdentityFile ~/.ssh/id_rsa Host wato2 User a27chiu HostName wato-wato2.uwaterloo.ca IdentityFile ~/.ssh/id_rsa Host wato3 User a27chiu HostName wato-wato3.uwaterloo.ca IdentityFile ~/.ssh/id_rsa Host rugged User a27chiu HostName wato-rugged.uwaterloo.ca IdentityFile ~/.ssh/id_rsa - Press f1 again, and then find Remote-SSH: Connect to host and choose
a host to connect to. Make sure you UW VPN is on.
[ {.confluence-embedded-image
height=”250”}]{.confluence-embedded-file-wrapper
.confluence-embedded-manual-size}
{.confluence-embedded-image
height=”250”}]{.confluence-embedded-file-wrapper
.confluence-embedded-manual-size} - You should now be able to edit code in the host from VSCode on your local machine.
Related articles
https://wiki.ros.org/socketcan_interface
\
\
\
Attachments:
![]() image2021-1-19_19-8-32.png
(image/png)
image2021-1-19_19-8-32.png
(image/png)
![]() image2021-1-19_19-8-39.png
(image/png)
image2021-1-19_19-8-39.png
(image/png)
![]() image2021-1-19_19-9-56.png
(image/png)
image2021-1-19_19-9-56.png
(image/png)
![]() image2021-1-19_19-11-48.png
(image/png)
image2021-1-19_19-11-48.png
(image/png)
![]() image2021-1-19_19-16-0.png
(image/png)
image2021-1-19_19-16-0.png
(image/png)
![]() image2021-1-19_19-18-49.png
(image/png)\
image2021-1-19_19-18-49.png
(image/png)\
Document generated by Confluence on Nov 28, 2021 22:40