watonomous.github.io
[ Software Division : Costmap ]
Created by [ Rowan Dempster], last modified by [ Charles Zhang] on Mar 25, 2020
Costmap2d
Costmap2d is a ros package providing a Costmap Occuapancy grid service
Wiki: http://wiki.ros.org/costmap_2d
The Costmap2d is currently set up in the path planning `decision` repository.
Note Costmap2d requires `[apt-get install ros-kinetic-navigation` ]as a depenency.
Setting Up Costmap2d
Launch File: https://git.uwaterloo.ca/WATonomous/decision/blob/develop/launch/costmap.launch
<launch>
  <node pkg="path_planning" type="costmap_node" respawn="false" name="costmap_node" output="screen">
   <rosparam file="$(find path_planning)/cfg/costmap_params.yaml" command="load" ns="/costmap_node/costmap" />
  </node>
</launch>
\
You can see we include a costmap_params.yaml file under the costmap namespace. This provides the required transforms and topics that the costmap should subscribe to
global_frame: odom
robot_base_frame: base_link
update_frequency: 5.0
publish_frequency: 2
static_map: false
rolling_window: true
width: 40.0
height: 40.0
resolution: 0.05
origin_x: -20.0
origin_y: -20.0
origin_z: 0
obstacle_range: 30
raytrace_range: 30
footprint: [[0.6, 0.5], [0.8, 0], [0.6, -0.5], [-0.8,-0.5], [-0.8,0.5]]
#footprint_padding : 0
max_obstacle_height: 30
transform_tolerance: 10

plugins:
 -
# -

obstacles:
  observation_sources: velodyne

  velodyne:

  track_unknown_space: true
  max_obstacle_height: 10
  obstacle_range: 30
  raytrace_range: 35

inflation:
  inflation_radius: 0.55
  cost_scaling_factor: 10.0
In this file, we specify the frames that the costmap should use, some topic info, the footprint of the robot, and the different observational sources. I think it's pretty self-explanatory. Specifications for the params are in the wiki here: http://wiki.ros.org/costmap_2d/hydro
Note that you can enable the inflation layer by uncommenting that line. You can see what the inflation layer does in the wiki http://wiki.ros.org/costmap_2d
Running Costmap2d
On the rugged:
roslaunch state_machine sensors_launch.launch # Run sensors. Make sure lidar (use RVIZ) & transforms (use rosrun rqt rqt) are running
roslaunch path_planning costmap.launch
rosrun rviz rviz
Using the Rosbag
Using a rosbag containing only the /velodyne_points topic (to minimize issues with topic contamination).
Filtering Rosbags: http://wiki.ros.org/rosbag/Commandline#rosbag_filter
roscore
rosparam set /use_sim_time true         # (in another terminal) Use rosbag time
roslaunch path_planning tfs.launch      # Mock TFs
roslaunch path_planning costmap.launch
rosrun rviz rviz
Visualization:
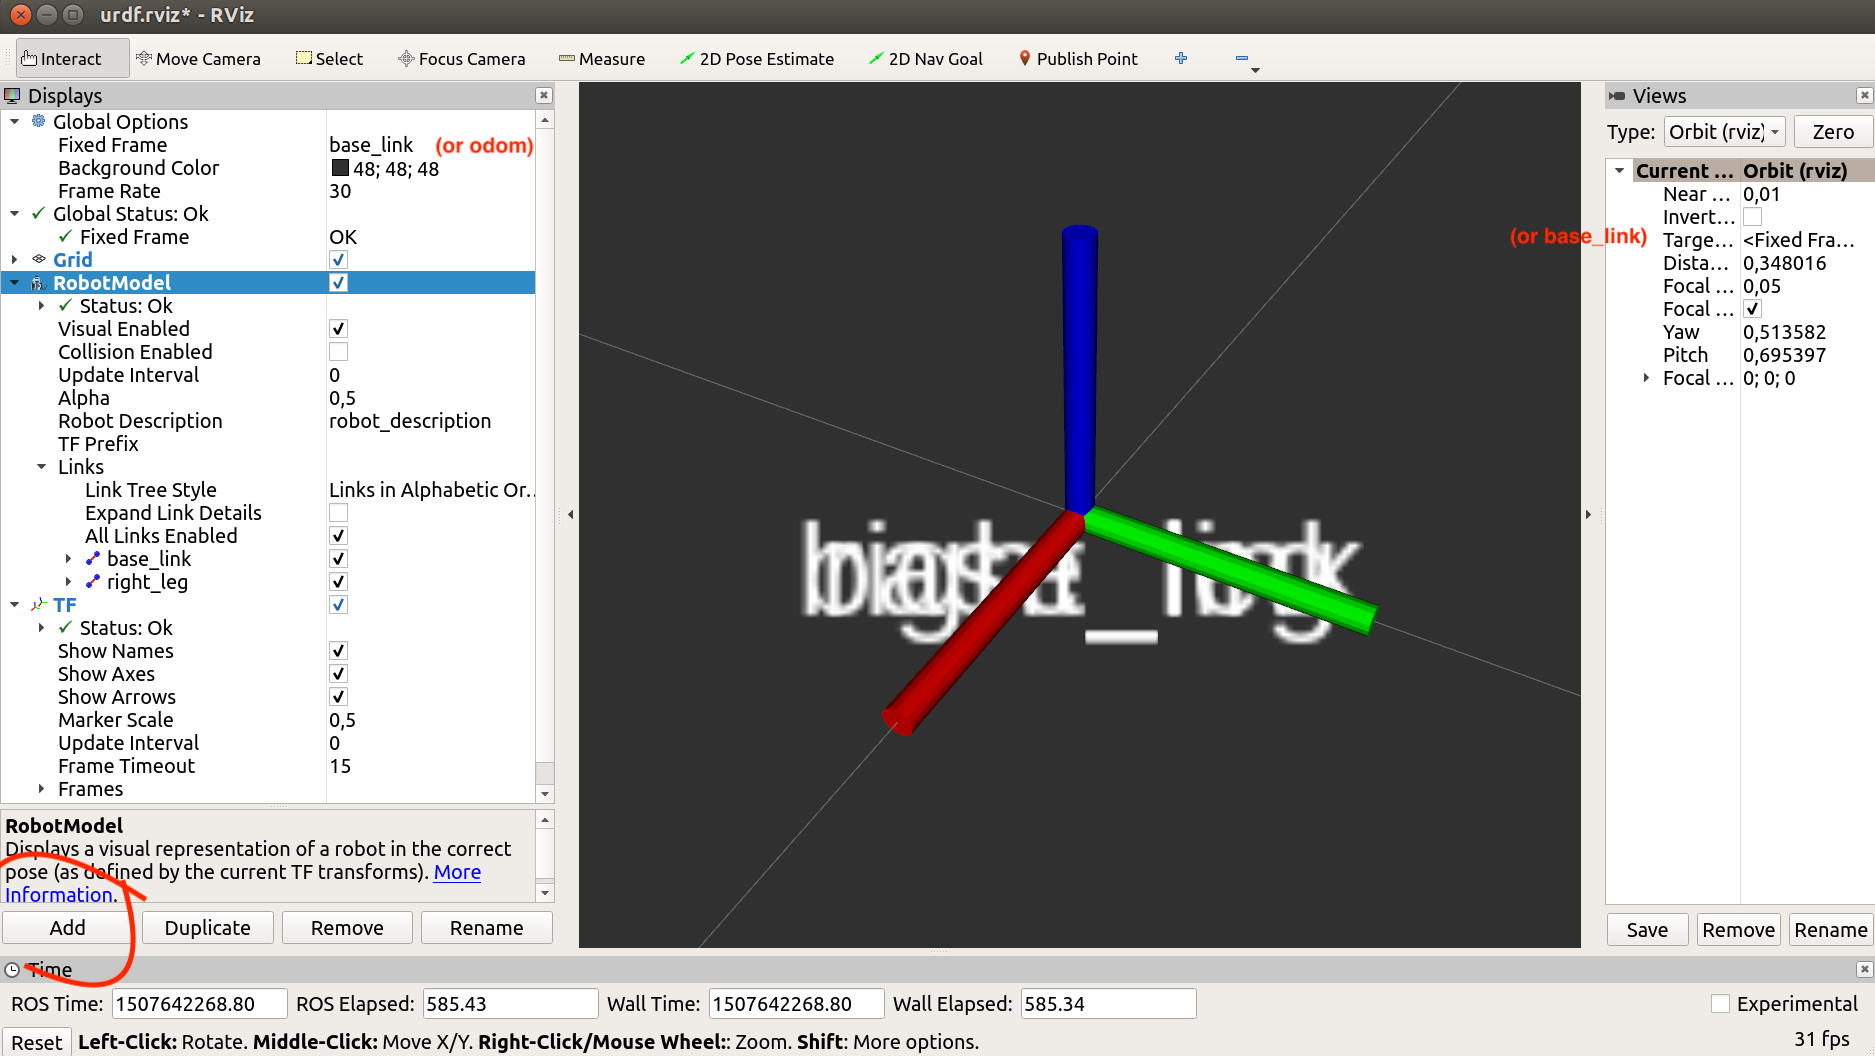
In the RViZ, set the fixed frame to odom, and the target frame to base_link. Or, for simplicity set the fixed frame to base_link.
Fixed frame = world origin. Target Frame = camera/view position
Add the costmap topic in using the `add` button.
[ {.confluence-embedded-image
height=”250”}]{.confluence-embedded-file-wrapper
.confluence-embedded-manual-size}
{.confluence-embedded-image
height=”250”}]{.confluence-embedded-file-wrapper
.confluence-embedded-manual-size}
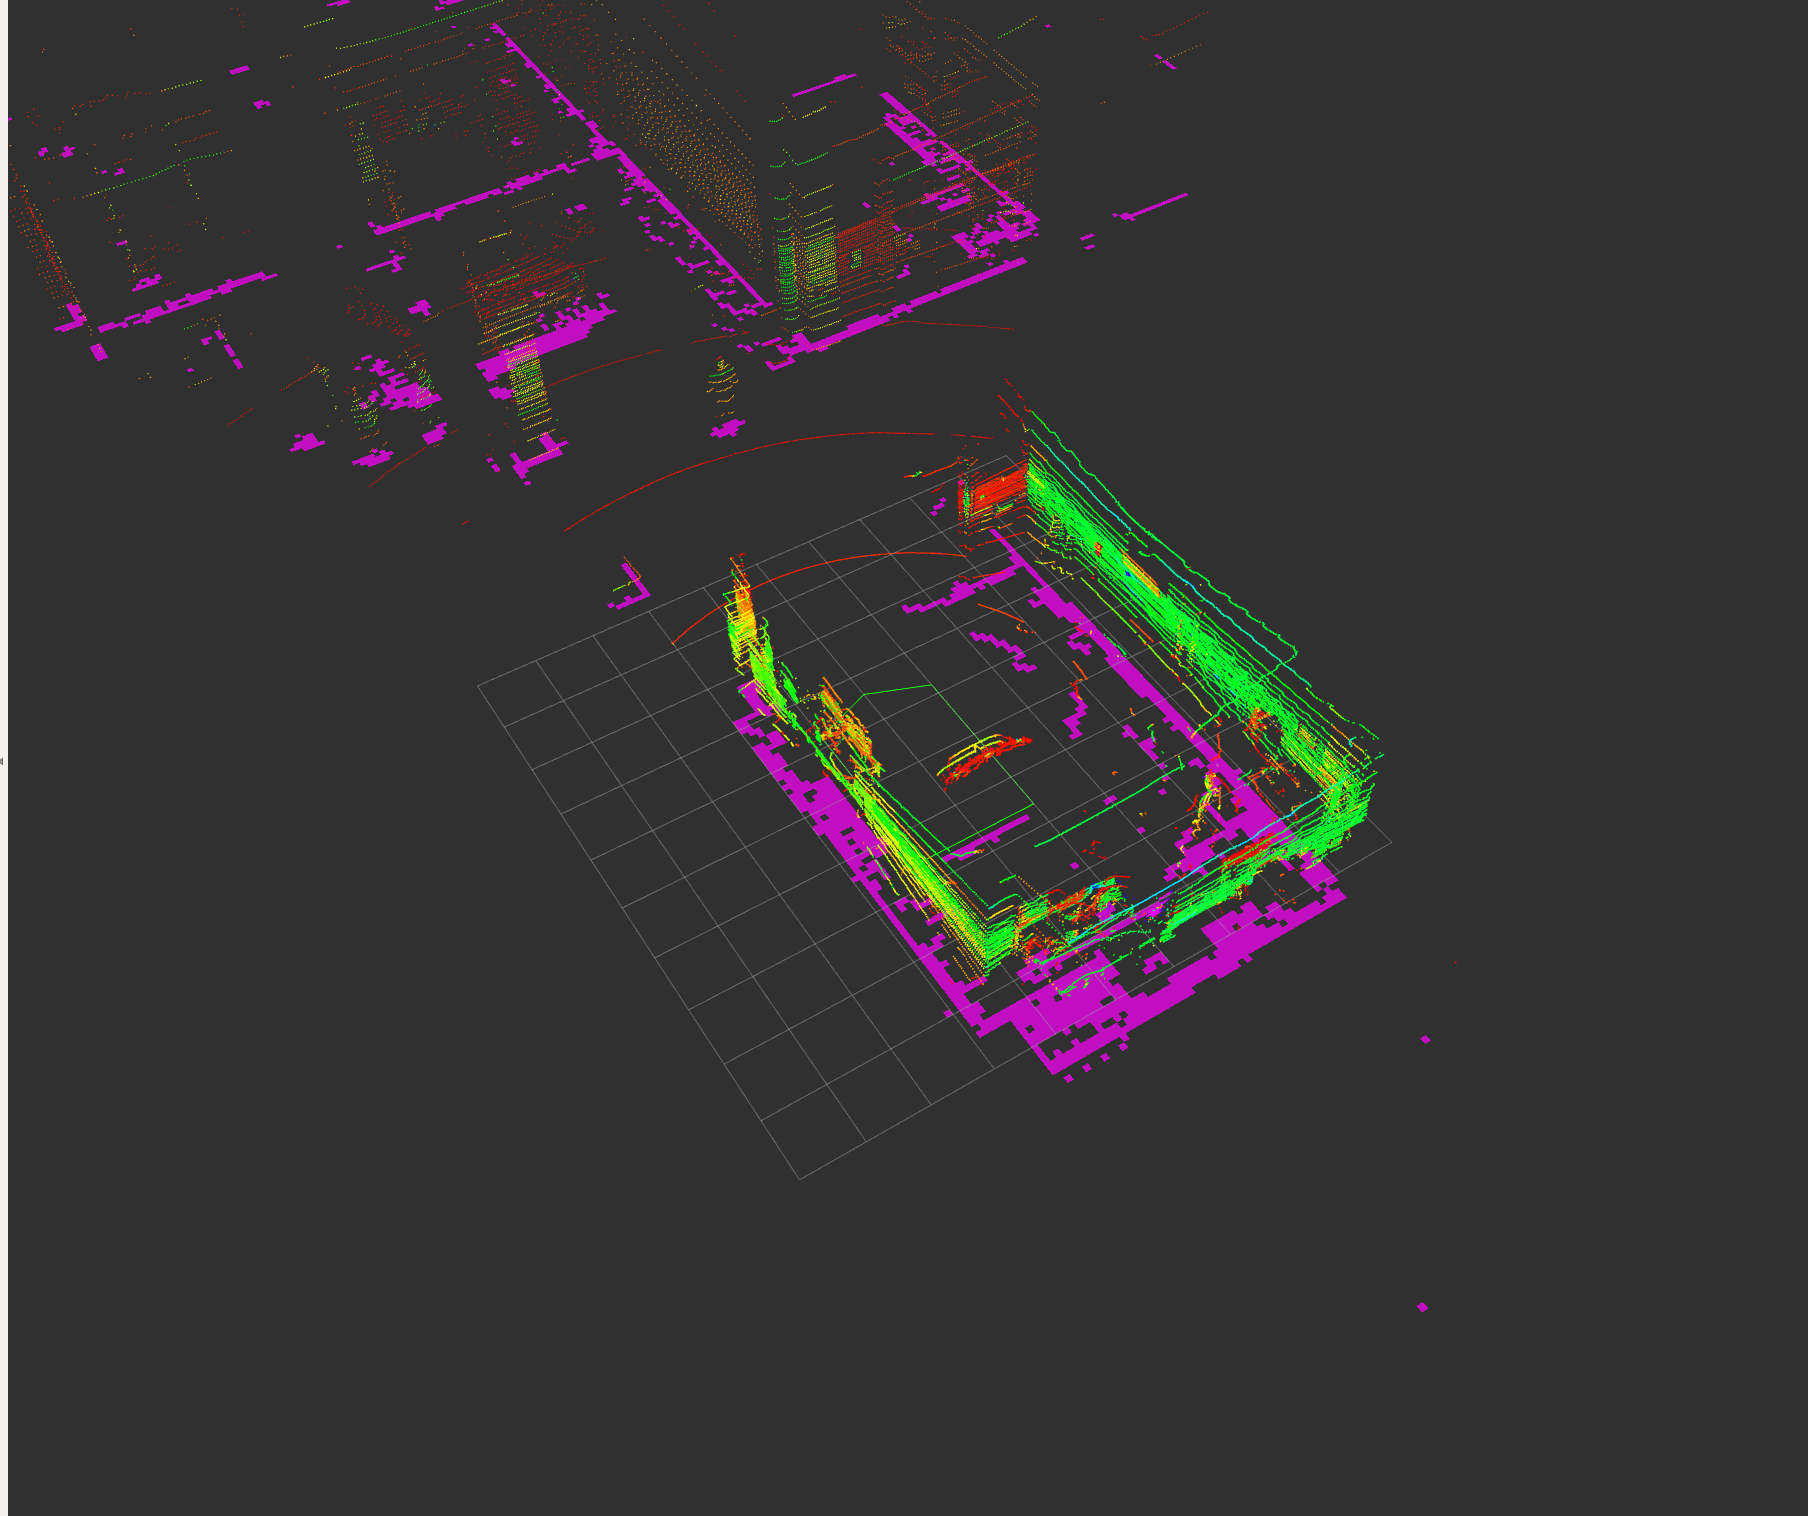
It should look like this
[ {.confluence-embedded-image
.confluence-thumbnail height=”250”}]{.confluence-embedded-file-wrapper
.confluence-embedded-manual-size}
{.confluence-embedded-image
.confluence-thumbnail height=”250”}]{.confluence-embedded-file-wrapper
.confluence-embedded-manual-size}
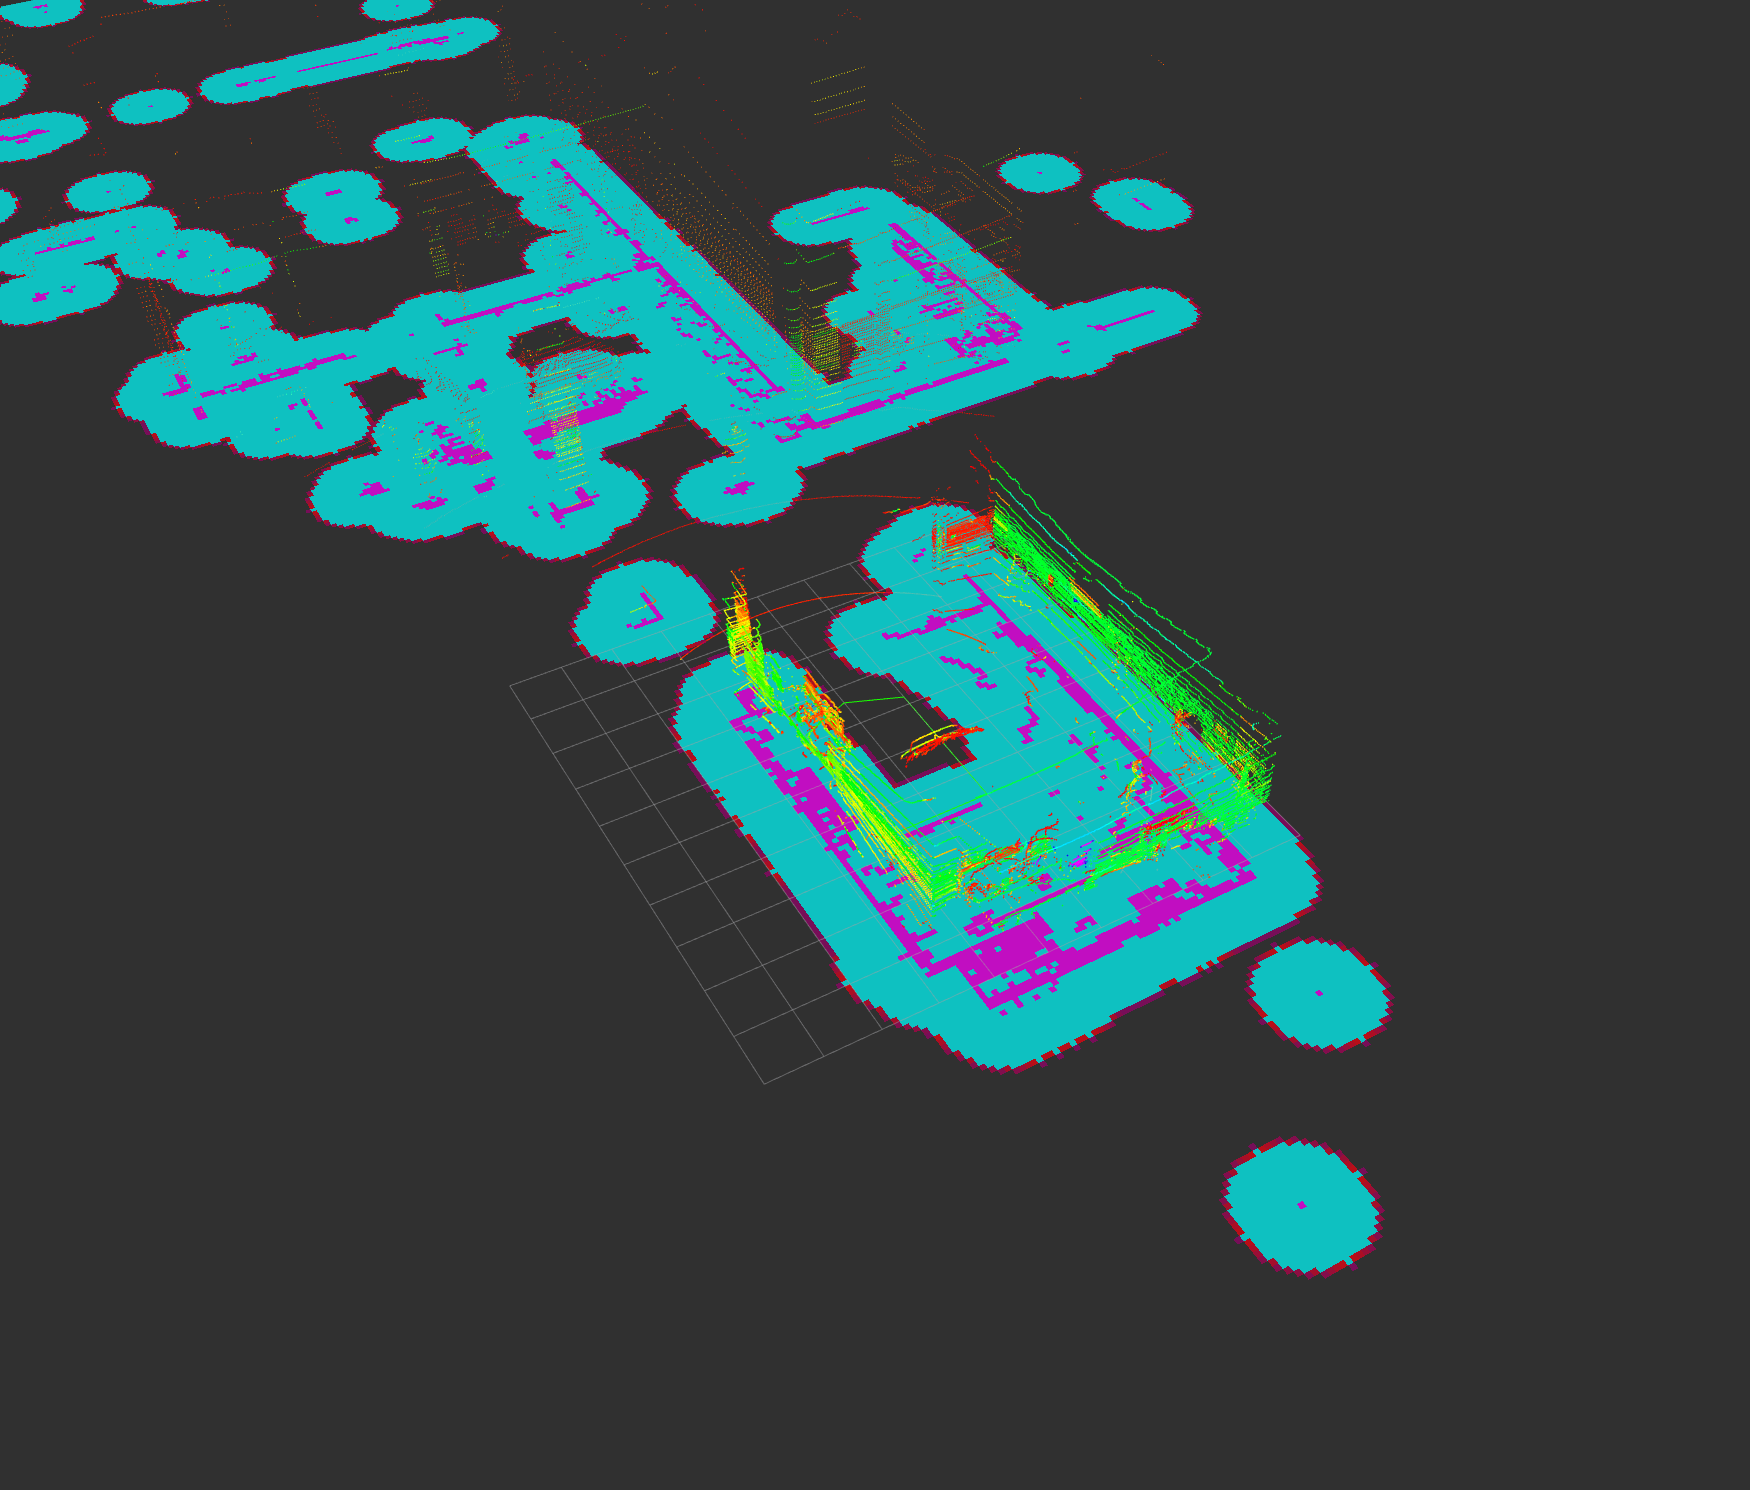
If we enable the inflation layer:
[ {.confluence-embedded-image
.confluence-thumbnail height=”250”}]{.confluence-embedded-file-wrapper
.confluence-embedded-manual-size}
{.confluence-embedded-image
.confluence-thumbnail height=”250”}]{.confluence-embedded-file-wrapper
.confluence-embedded-manual-size}
\
Nothing's happening:
-
Make sure the odom → base_link transform is running
rosrun tf tf_echo /odom /base_link
-
Check if the costmap is publishing
rostopic echo <TODO> -
Make sure the lidar is publishing
rostopic echo /velodyne_points
What we need to do:
Step 1:
We need to filter the lidar. Luckily, Perception is coming in clutch and stole some code from Autoware and the Autoware lidar filtering features are still there
Autoware + documentation: https://gitlab.com/autowarefoundation/autoware.ai/core_perception/-/tree/master/lidar_euclidean_cluster_detect
Perception launch file with the same params: https://git.uwaterloo.ca/WATonomous/perception-year-2/blob/master/perception-vehicle-exp.launch#L37
- The guys in perception aren't using any of the filtering features that they stole from Autoware, and they aren't publishing the post-filter pointclouds either. - Fix this.
- [We also need to tune the filtering parameters.]
- [Can test the filtering on any of the test track rosbags. They all contain lidar data]
Why this is important: The costmap2d only supports level ground plane rejection, ie: Ignore any points with a height less than X. Clearly, if we're on a tilted surface this won't work at all.
Autoware's package includes RANSAC ground plane rejection and Difference of Normals surface rejection. (http://pointclouds.org/documentation/tutorials/don_segmentation.php)
Step 2:
Integrate with our local planner code. We need to use this costmap in our actual code. The costmap can be used for obstacle avoidance, especially with our frenet planner and behavioural planners.
\
---
Year2 Costmap project (Deprecated)
Documentation
API:
- Static, dynamic, and combined costmaps can be retrieved through
Eigen::MatrixXd getStaticMap();
Eigen::MatrixXd getDynamicMap();
Eigen::MatrixXd getCombinedMap();
- The cost of a single cell can be retrieved from
double getCost(const geom::Point2d)
CostmapUtils API: https://docs.google.com/document/d/1fdoAPptk-d9cl6WdLzySRhGZM9_qRT1uBCZaDsCWZw4/edit#
Eigen:
We are using Eigen for year two as it is optimized and has many advanced matrix-manipulation features such as sub-blocks, matrix transformations, and coefficient-wise operations. Think of it as NumPy in C++ but faster. Find more information in the Eigen Tutorials
Costmap Coordinate System:
Watonomous is using the Novatel Coordinate System.
- Note that points along an angle of zero degrees lie along the positive y-axis of our coordinate system. (ie: North)
The costmap is an Eigen Matrix of size (2 * radius x 2 * radius). The matrix is centred on the car's current position. Costmap cells will have a resolution, which specifies the width of each cell in meters. Radius and resolution are specified in CostmapConfig. This system implies that the top left corner of the matrix will have real world coordinate (car_pos_x- radius, car_pos_x - radius). This coordinate can be accessed by the public method Eigen::Vector2d getGlobalOrigin(). See the diagram below for more information.
[ {.confluence-embedded-image
.confluence-external-resource}]
{.confluence-embedded-image
.confluence-external-resource}]
\
- In the example above, getGlobalOrigin() will return (-5,-5)
Year Two (Summer 2019)
Year two architecture for Costmap and Occupiable:
In Ros main,
receiveEnv(Environment env) {
        // create an instance of the utility class based on the config
    CostmapUtils utils(CostmapConfig)
        // Filter the environment for objects and lines within CostmapConfig.radius of the car
    env = utils.filterEnv(Env)
        // Create an instance of a costmap
    costmap = CostMap(CostmapConfig);
        // generate the staticMap (Consists of Road and Lane lines only)
    costmap.staticFromEnv(env, prev_path)
        // get the dynamic layer from Occupiable (all obstacles)
    costmap.setDynamicLayer(occupiable.updateAndQueryRegion(env))

        ...
}
The costmap class itself only contains logic to draw roadlines onto the static map. The Costmap acts as a wrapper for the Static, Dynamic, and Combined cost maps (Implemented as Eigen matrices), with accessor functions to get information about the costmap.
All drawing logic for objects / roadlines is contained in the Costmap Utils utility class.
Team members
Anqi Wu
Charles Zhang
Sophie Tan
Sailesh Nankani
Chris Wu
Alex Shi
Year Two (Winter 2019) OUTDATED
OUTDATED - functions have been moved to CostmapUtils
Overview and descriptions of year two core functionality.
General structure:
- The constructor is passed an Environment.msg. Call filter and drawStatic on that environment. Filter will remove any objects that are farther away from the car than radius meters. This is done to avoid outliers due to upstream bugs. (eg: obstacles that are 200m away)
- drawStatic iterates through the filtered environment and draws each object and polyline, calling drawObstacle or drawPolyline
- drawPolyline converts each line segment (pairs of two points in a polyline) to an Object of width 0, then calls drawObstacle with that Object.
- drawObstacle calls blurObstacle to create an un-rotated drawing of the final product. rotateMatrix and addToMatrix will then be called to rotate the un-rotated matrix to the desired orientation and add the the rotated matrix to a specified destination matrix.
Google doc with more detail for each function (written
by [\@Charlesyz]{.phui-tag-core .phui-tag-color-person
style=”color: inherit;”})
https://docs.google.com/document/d/1iRWiWfkraR-xQLZ7OpeiNTi8y2NV7l_T_EBfA4VgwM4/edit?usp=sharing
Integration with Occupiable Objects
- We will call the occupiable objects class to convert required information about dynamic objects (stopLine, trafficLight, trafficSign, parkingSpot) from Environment.msg into bounding boxes that we can draw to the dynamic layer of the costmap.
Optimizations
The main problem with the 5 simple steps outlined in High Level
Objectives is that our Environments are large, and doing all those
matrix additions multiple times a second is a level of performance that
will be hard to achieve without some optimizations!
Some things we must consider:
- Do we always have to "re-merge" all features onto the costmap every time we get a new Environment? Wouldn't most things stay approximately still as we move through our environment?
There are also smaller optimizations we implement for our core drawing functionality:
- blurObstacle: use Eigen’s fast matrix block allocation to simulate a
linear blur
- Eg: Allocate 5 overlapping squares centred on the same point. allocate 10x10 as 1, allocate 8x8 as 2, allocate 6x6 as 3, allocate 4x4 as 4.
- Current Solution: Iterate through each cell and calculate linear blur based the distance from the to the object
- If eigen allocation is fast enough (linear or better, hopefully constant - more testing needed), drawing goes from O(N\^2) to O(N)
1 1 1 1 1 1 1 1 1 1
1 2 2 2 2 2 2 2 2 1
1 2 3 3 3 3 3 3 2 1
1 2 3 4 4 4 4 3 2 1
1 2 3 4 4 4 4 3 2 1
1 2 3 4 4 4 4 3 2 1
1 2 3 4 4 4 4 3 2 1
1 2 3 3 3 3 3 3 2 1
1 2 2 2 2 2 2 2 2 1
1 1 1 1 1 1 1 1 1 1
- Line Blur
- Use the Bresenham Line Algorithm
- Oz suggested creating a modified version with large line widths and interpolation
- Requires followup and more testing
- Rotation
- Currently an unoptimized triple shear
- Multi Threading:
Fall 2018 Project Plan
This is a Google Doc outline of the Costmap project plan written by [\@321329096]{.phui-tag-core .phui-tag-color-person style=”color: inherit;”}
Attachments:
![]() 15076437408525901.png (image/png)
15076437408525901.png (image/png)
![]() costmap.png (image/png)
costmap.png (image/png)
![]() costmap_inflated.png (image/png)\
costmap_inflated.png (image/png)\
Document generated by Confluence on Dec 10, 2021 04:01