watonomous.github.io
[ Software Division : Path Planning Onboarding ]
Created by [ Charles Zhang], last modified on Mar 28, 2020
Welcome to Path Planning! This is a guide to help you get up-to-speed on the Path Planning pipeline.
Prerequisites:
- Your development environment is set up as specified in the Software Onboarding Tutorial
- You have completed the Platform Onboarding, and have access to Discord, Jira, Confluence, and Gitlab
- You have requested SSH access to the Watonomous machines as instructed here: SSH Access to WATO machines
- You are vaguely familiar with ROS and have completed: http://wiki.ros.org/ROS/Tutorials
Remember, send a message in Discord #path-planning-general or #software-general if you have any questions!
Dependencies
Clone these repositories under `catkin_ws/src/
https://git.uwaterloo.ca/WATonomous/decision
https://git.uwaterloo.ca/WATonomous/ros_msgs
NEW: https://git.uwaterloo.ca/WATonomous/localization
\
Path Planning requires Python2 and CasADi for the MPC feedback controller. Path Planning also requries the Costmap2d package, included in ros-kinetic-navigation
pip install casadi
sudo apt-get install ros-kinetic-navigation
sudo apt-get install ros-kinetic-jsk-recognition-msgs
Waterloo Cisco Anyconnect VPN: https://uwaterloo.ca/information-systems-technology/services/virtual-private-network-vpn
- You will need the VPN to access Watonomous servers (ssh and rosbag server) when you're not on campus.
The Code
-
Set up a catkin_ws and src directory
mkdir ~/catkin_ws; cd ~/catkin_ws; mkdir src -
Clone the code into your `src` directory
cd ~/catkin_ws/src
# contains path planning code
git clone https://git.uwaterloo.ca/WATonomous/decision.git
# contains ROS messages used across perception, processing and path planning
git clone  https://git.uwaterloo.ca/WATonomous/ros_msgs.git
Your directory hierarchy should now look like this:
~/catkin_ws └── src └── decision/ └── ros_msgs/ -
Ensure you're on the correct branches: `decision` and `ros_msgs` should both be on `develop`. All current code development should be based on develop. Master is reserved for verified stable code that we can use in production. Master will always be behind develop. This also means that any merge requests you make should be into develop
cd ~/catkin_ws/src/decision; git checkout develop cd ~/catkin_ws/src/ros_msgs; git checkout develop -
Compile! run `catkin_make` in the root directory of your workspace (the folder that contains `src`) to compile the repository. (it might take a couple minutes)
cd ~/catkin_ws/ catkin_make -
Setup your environment based on your new workspace. You should see two new folders, `catkin_ws/devel` and `catkin_ws/build`. These are temporary build folders.
source ~/catkin_ws/devel/setup.bashThe above command will tell ROS that this is the workspace you're using. So, look for any packages in this workspace. You will have to run this command every time you open a new terminal.
To have it run automatically:echo "source ~/catkin_ws/devel/setup.bash" > ~/.bashrcIf you are using ZSH, replace `setup.bash` with `setup.sh` or `setup.zsh`
-
Run Unit Tests to verify your setup is working
cd ~/catkin_ws
catkin_make run_tests
You should something similar to the following:
[ {.confluence-embedded-image
.js-lazy-loaded .qa-js-lazy-loaded .confluence-external-resource
height=”250”}]{.confluence-embedded-file-wrapper
.confluence-embedded-manual-size}
{.confluence-embedded-image
.js-lazy-loaded .qa-js-lazy-loaded .confluence-external-resource
height=”250”}]{.confluence-embedded-file-wrapper
.confluence-embedded-manual-size} - Get some rosbag data (recorded car data)
- Start the UW VPN if you aren't on Eduroam
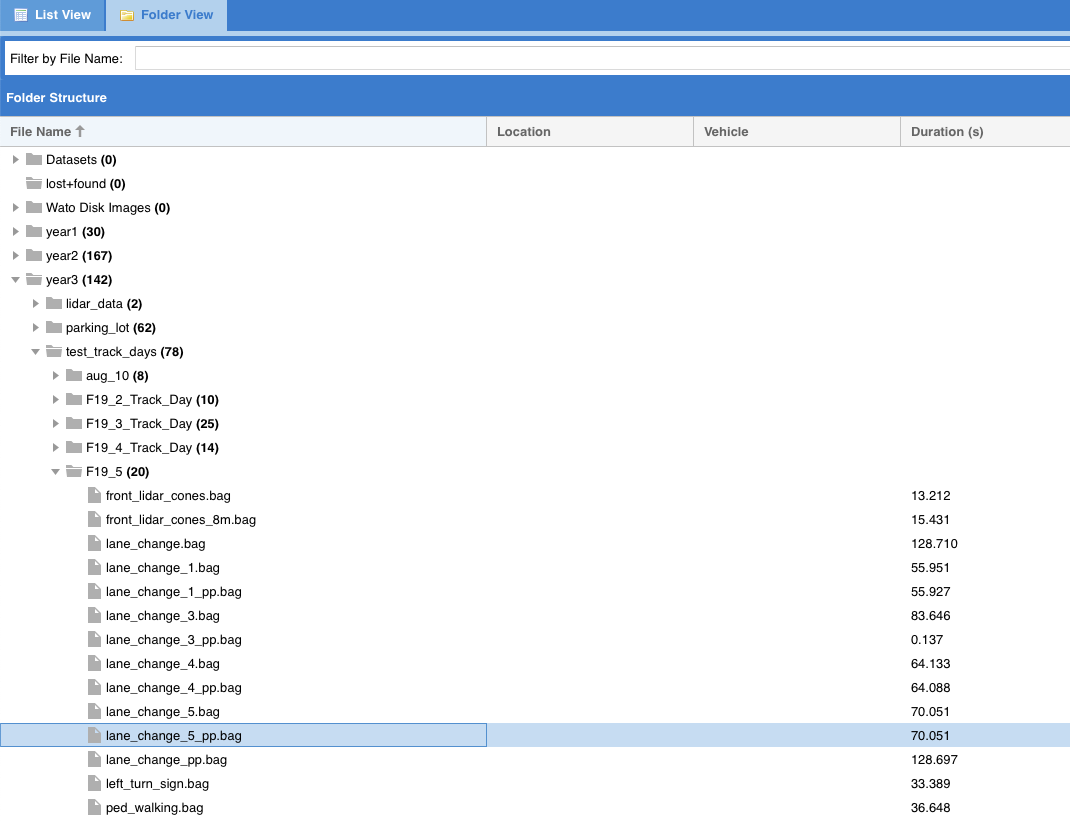
- Download a rosbag: http://wato-rugged.uwaterloo.ca:8080. go
to the `folder_view` tab , and find lane_change_5_pp.bag
[ {.confluence-embedded-image
height=”250”}]{.confluence-embedded-file-wrapper
.confluence-embedded-manual-size}
{.confluence-embedded-image
height=”250”}]{.confluence-embedded-file-wrapper
.confluence-embedded-manual-size}
- If the Rugged server is down, try this rosbag: F19_4_1_mpc_stop_turn_success_2_pp.bag
- if you want to analyze the data in the rosbag, run `rqt_bag <BAG_NAME>`
- See Rosbag Tutorial for an in-depth look at rosbags
-
In one terminal, run:
rosbag play -l <PATH_TO_ROSBAG> -
In another terminal, run:
roslaunch path_planning planner_main.launchThis command will start the entire path planning pipeline (Specification: https://docs.google.com/document/u/4/d/14kDOO9L3YU2OQEs0tR85pUxXs78bYIPO87eHWYtXIGo/edit?usp=drive_web&ouid=105099448910845047912)
An `rviz` window should pop up, looking something like this:[[
 []{.companion-edit-button-placeholder
.edit-button-overlay data-linked-resource-container-id=”1442663”
data-linked-resource-id=”1442666”
data-template-name=”companionEditIcon”
data-source-location=”embedded-attachment”}]
[]{.companion-edit-button-placeholder
.edit-button-overlay data-linked-resource-container-id=”1442663”
data-linked-resource-id=”1442666”
data-template-name=”companionEditIcon”
data-source-location=”embedded-attachment”}]
RVIZ is our internal visualization tool, and shows the going-ons of path planning. Play around with it! for more information: RViz Tool and the ROS wiki: http://wiki.ros.org/rviz -
Modify Constants in real-time using Dynamic Reconfigure:
in yet another terminal, runrosrun rqt_reconfigure rqt_reconfigureopen the `decision` parameter server, and play around with constants!
See Dynamic Reconfigure Tool for more info
- Nice! You're ready to start writing some code!
Next Steps
- Read over the Path Planning overview in the Path Planning Group wiki
- Check the Unit Testing + Development Practices wiki
- Take a look at the Jira: https://jira.watonomous.ca/secure/RapidBoard.jspa?rapidView=2&projectKey=PP&view=planning.nodetail&epics=visible&issueLimit=100
- Have fun!
\
Attachments:
![]() cyclist.mp4 (video/mp4)
cyclist.mp4 (video/mp4)
![]() F19_4_1_mpc_stop_turn_success_2_pp.bag
(application/octet-stream)
F19_4_1_mpc_stop_turn_success_2_pp.bag
(application/octet-stream)
![]() image2020-1-15_11-8-59.png
(image/png)\
image2020-1-15_11-8-59.png
(image/png)\
Document generated by Confluence on Dec 10, 2021 04:01